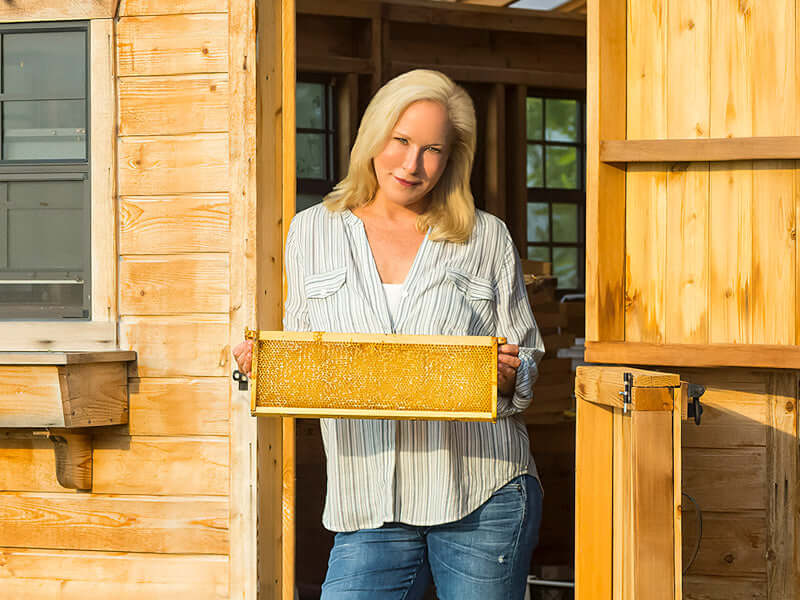


The first time I poured ten thousand bees into a wooden box, my hands were shaking. My mentor, Dale Large, stood beside me, calm as anything, while a cloud of bees lifted into the air around our heads and then, almost magically, settled into their brand-new home. That was the day I stopped reading about beekeeping and started actually doing it.

If you have a package of bees on the way, or you are thinking about ordering one, this is the walk-through I wish I had bookmarked back then. We will go step by step, from the gear you put on to the moment you tuck the queen between the frames. Take your time, breathe slowly, and remember: the bees want to settle in just as much as you want them to.
What Is a Package of Bees?
A package is exactly what it sounds like: a screened wooden or plastic box holding roughly three pounds of bees, which works out to somewhere around 10,000 workers. Inside, you will also find a small queen in her own little cage and a can of sugar syrup that has been feeding the colony during shipping. These bees come from several different hives, so they have not yet bonded into a single family. Your job during installation is to give them a home and a queen to rally around. From here, our guide to what to expect after setup covers the weeks that follow, and our day twenty check-in shows how ours actually went.
If you are still deciding between a package and a nucleus colony, that is a worthwhile question to settle before your bees arrive. I wrote up the trade-offs in my post on packaged bees versus nucleus colonies, since the two get off to very different starts.

Before You Begin: Gather Your Gear
Installation goes smoothly when everything is laid out and within reach before you open the box. There is nothing worse than fumbling for a hive tool with a cloud of bees in the air. Here is what I keep at arm’s length:
- Protective gear: a veil or full suit, plus gloves if you prefer them. Package bees are usually gentle, but a calm beekeeper makes for calm bees.
- An assembled hive: a bottom board, one hive body (brood box) with frames, an inner cover, and an outer lid, already set up in its permanent spot.
- A hive tool: the one implement you will reach for constantly, used to pry the package lid and nudge frames.
- A spray bottle of 1:1 sugar syrup: one part white sugar dissolved in one part warm water, cooled to room temperature. Use a bottle that has never held anything but syrup.
- A feeder: filled and ready, because a brand-new colony has no stored food yet.
- A few small tools: a wood screw or a mini marshmallow for the queen cage, which I will explain when we get there.
If you have not built and sited your hive yet, start with my beginner walk-through on how to set up your first beehive and come back here once it is standing where you want it.

How to Install Package Bees, Step by Step
Late afternoon or early evening is the gentlest time to install, when foraging bees are winding down for the day. Give yourself a relaxed hour or two and work through these steps in order.
Step 1: Suit Up and Stay Calm
Put on your veil or suit and get settled before you touch the package. You generally will not need a smoker for a package install, since these bees have no honey stores to defend yet. Slow, deliberate movements do more to keep the colony calm than anything else.

Step 2: Open the Hive and Make Room
Remove the outer lid and inner cover, then take out four or five frames from the center of the brood box and set them aside. This open space is where your bees will go. Leave the outer frames in place.
Step 3: Give the Package a Light Misting
If the weather is mild, lightly mist the screen sides of the package with your 1:1 sugar syrup. The bees gather to sip it, which keeps them busy and a little less inclined to fly. Skip this step if it is cold out.

Step 4: Open the Package and Remove the Feed Can
Use your hive tool to pry off the wooden lid on top of the box. You will see the metal syrup can filling most of the opening, with the queen cage hanging beside it on a small strap or tab. Give the package a firm tap on the ground so the bees drop to the bottom, then lift out the feed can and set it aside. Lay the lid loosely back over the opening to keep the bees contained for a moment.
Step 5: Remove and Inspect the Queen Cage
Take hold of the strap and carefully lift out the queen cage. Look her over: you want to see her moving and healthy. Most queen cages have a small cork covering a plug of white “queen candy” at one end. Remove only that cork to expose the candy. The workers will eat through it over the next few days and release her gradually, which gives the colony time to accept her as their own.
A handy tip I learned early: if your queen cage has no candy plug behind the cork, plug the opening with a mini marshmallow instead. The workers will nibble through it and free her on the same slow timeline.

Step 6: Settle the Queen Cage Between the Frames
Wedge the queen cage candy-end up between two of the center frames, snug enough that the frame pressure holds it in place. Keeping the candy side up helps prevent any attendant bees from getting trapped beneath escaping wax or debris.

Step 7: Add the Bees to the Hive
Now for the dramatic part. Lift the package, hold it over the open space you created, and give it a firm shake to pour the bees in. Rock it back and forth, tapping the sides, until most of the bees have tumbled out around the queen cage. You will not get every last one, and that is perfectly fine.
Prefer a gentler approach? Set the open package down inside the empty hive space with the opening facing up. The bees will smell the queen and climb out to join her over the next several hours. This method is calmer for the bees and for a nervous first-timer.

Step 8: Replace the Frames
Gently slide the frames you set aside back into the box, easing them down so you do not crush any bees. Take it slowly: bees will move out of the way if you give them the chance. Leave the frames at proper spacing.
Step 9: Close Up and Feed
Place the inner cover and lid back on, then fill your feeder with fresh 1:1 syrup. A brand-new colony has no comb and no stored food, so this feeding is what fuels them while they build. Set the empty package a few feet in front of the entrance so any stragglers can find their way in by nightfall.
Step 10: Leave Them to Settle
This is the hardest step for most of us: walk away. Resist the urge to peek. Give the colony a few quiet days to accept their queen and start drawing comb. After about a week, you can gently open the hive to confirm the queen has been released from her cage. If she has not, give it another day or two before checking again.
What Comes Next?
Once your bees are in and your queen is free, the real adventure begins: watching a loose collection of strangers knit themselves into a thriving colony. Keep that feeder topped up, give them space and time, and check in without hovering. For the week-by-week of what to do after this day, I put together a follow-up on what to do after you install your bees.
Every season I realize how much further along I am than the nervous beginner who shook that first package with Dale. Eventually, after a season or two of patient care, your bees will reward you with honey of your very own. If you want to taste what is possible while you wait, our Tupelo Honey, harvested down in Florida, is one of the rarest and most delicately flavored honeys we offer. You can read the story behind it in what makes Tupelo honey so special.
So go on: suit up, breathe slow, and welcome your bees home. With a little courage and a lot of patience, you are well on your way to becoming a beekeeper.

Notes from Our First Big Install
Our own first season started long before install day. The single biggest lesson was that a good install begins in winter: order your package bees by the end of January, because reputable suppliers sell out fast, and the lead time gives you room to order hardware and line up help. We ordered ours from Michael Embry at the University of Maryland Wye Research and Education Center, who drove twenty-four hours straight to Georgia and back so a class of new beekeepers could collect healthy packages the moment he returned.
We installed nine new hives on April 7, 2013, after typical Eastern Shore weather pushed our original delivery back a week with cold and rain. Because every hive pad was set and every tool laid out in advance, install day itself stayed calm and focused. Starting with more than one hive turned out to be a quiet advantage too: comparing colonies side by side taught us faster than any book, and it gave us a backup when one colony struggled. Those nine packages became years of learning, and eventually the honey we bottle today. A few weeks later came our first state inspection, and the question every new beekeeper asks next, whether and when to keep feeding.
In loving memory of Dean Burroughs, the original Maryland State Apiary Inspector, an EAS Master Beekeeper, and a true icon of the beekeeping community, who looked over those first nine hives.
Caring for this land and these communities is at the core of who we are. It’s why we created Roots & Wings , our giving initiative that connects every purchase to something that matters. See how we give back.

FAQs About How to Install Package Bees: A Beginner’s Step-by-Step Guide
What time of day is best to install package bees?
Late afternoon or early evening is ideal, when most foraging bees have returned and activity is winding down. The cooler, calmer conditions make the bees less likely to fly off and help the colony settle into the hive overnight.
Do I need a smoker to install package bees?
Usually not. Package bees have no honey stores to defend, so they tend to be gentle during installation. Many beekeepers skip the smoker entirely and rely on slow, deliberate movements and a light misting of sugar syrup to keep the bees calm.
Why is the queen kept in a separate cage?
The bees in a package come from several different colonies and have not yet bonded with their queen. Keeping her caged with a candy plug lets the workers release her gradually over a few days, giving them time to accept her as their own before she begins laying.
How long should I wait before opening the hive after installation?
Give the colony several quiet days to settle, then check after about a week to confirm the queen has been released from her cage. If she is still inside, wait another day or two before looking again. Avoid frequent peeking, which disrupts the bees while they are getting established.
Do I need to feed bees after installing a package?
Yes. A newly installed package has no drawn comb and no stored food, so a feeder filled with 1:1 sugar syrup is essential. The feeding fuels the colony while the bees build comb and the queen begins laying.
When should I order package bees?
Order package bees by the end of January. Suppliers sell out quickly, and ordering early also gives you time to research and order your hive hardware, tools, and protective gear before spring arrives.
How many hives should a beginner start with?
Many new beekeepers start with one or two, but starting with more than one lets you compare colonies and gives you a backup if one struggles. We installed nine in our first big season, and the side-by-side comparison taught us faster than any book.
What is the indirect queen-release method?
It is a method where the queen stays in her cage inside the hive for a few days so the colony can grow used to her scent before she is released, which improves the odds that the bees accept her.
Does weather affect when package bees can be installed?
Yes. Cold temperatures and rain can delay delivery and make installation harder on the bees. Our own delivery was pushed back a week by cold and rain, then install day went smoothly once the weather settled.