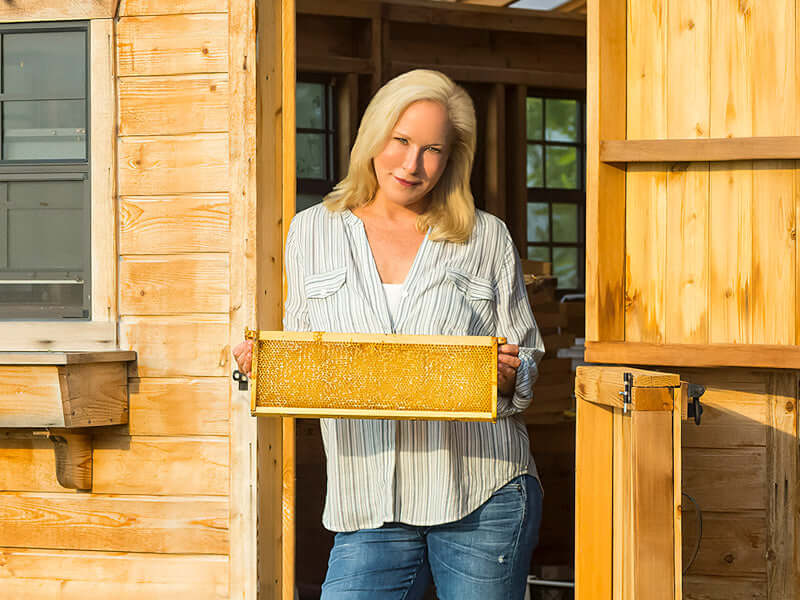
Beeswax is a remarkable natural substance produced by honeybees for building and maintaining their honeycombs. When beekeepers harvest honey, they collect beeswax cappings — the thin wax seals that protect stored honey — and process them into clean, usable wax. These cappings represent some of the purest, newest wax in the hive, making them ideal starting material.
If you're curious about how bees produce beeswax inside the hive, we cover the biology and origin in depth elsewhere. This guide focuses on what happens after harvest: collecting cappings, separating honey from wax, cleaning, melting, filtering, and molding. Whether you're working with a few frames or managing a larger operation, the same principles apply.
Raw beeswax contains impurities including honey residue, pollen, propolis, and occasional debris. Through careful processing, those impurities are removed to produce clean, golden wax ready for candles, cosmetics, food wraps, furniture polish, and more. The effort invested in proper processing pays directly into the quality of whatever you make with it.

Quality Considerations: Cappings vs. Brood Comb
For the highest quality beeswax, always use wax cappings from honey supers rather than brood comb. Brood comb comes from the lower portion of the hive where the queen lays eggs and young bees develop. This wax absorbs cocoon silk, propolis, and other materials over time, resulting in darker, greenish-gray wax that requires extensive processing to clean. The effort rarely justifies the results.
Cappings wax is newly created by the bees specifically to seal honey cells. It's naturally lighter in color, cleaner, and requires minimal processing to achieve excellent results. Focusing your efforts on cappings wax saves time and produces noticeably superior beeswax.

Essential Equipment for Processing Beeswax
Before beginning, gather these tools:
- Uncapping knife (electric hot knife or cold knife warmed in hot water)
- Collection tray or bucket for cappings
- Fine mesh bag, cheesecloth, or straining system
- Clean water
- Double boiler, solar wax melter, or crockpot for melting wax
- Flexible containers or molds (like muffin tins) for storing clean wax
- Heat-resistant utensils for handling hot wax
- Thermometer
- Storage containers for processed wax

Step 1: Collecting Wax Cappings
The first step occurs during honey harvesting. As you uncap honey frames, slice off the wax cappings using either an electric hot knife or a cold knife warmed in hot water. These cappings, still heavy with honey, should be collected in a dedicated tray or bucket.
Many beekeepers allow the honey to drain from the cappings through a straining system overnight, recovering valuable honey that would otherwise be lost. After initial draining, transfer the still-sticky cappings to storage containers until you're ready for further processing.
One important note: store your cappings in the freezer if you won't be processing them immediately. The approximately 18% water content in residual honey can cause fermentation if cappings are left at room temperature for too long. Fermented cappings are messier to process and can reduce the quality of your finished wax.

Honeycomb contains beeswax in its most natural form
Step 2: Separating Honey from Wax
Before melting, separate as much honey as possible from the cappings. Two effective methods:
Gravity separation: Place cappings in a fine mesh bag or straining system suspended over a clean bucket. Honey drips through slowly, typically completing within 24 hours. This method recovers the most honey while beginning the cleaning process.
Flotation method: Place cappings in a bucket of water and allow them to separate naturally. The wax floats to the top while honey dissolves in the water below. This method typically recovers about 60–70% of the wax and is faster but sacrifices some yield.
The goal of either method is to remove most of the honey before proceeding. Any honey remaining with the wax will be addressed in the cleaning and melting steps that follow.

Step 3: Cleaning Beeswax
With most honey removed, the next step is cleaning the cappings before melting. This removes remaining honey, pollen, propolis, and debris.
Place your cappings in a fine metal sieve and rinse thoroughly with warm (not hot) water. Warm water helps dissolve residual honey without melting the wax. Rinse several times, gently agitating the cappings to expose all surfaces.
After rinsing, shake out as much water as possible, then spread the cappings on absorbent paper or cloth to air dry completely. Skipping this drying step can lead to fermentation or mold growth. Once fully dry, the cappings are ready for melting.
If you won't be melting immediately, store cleaned and dried cappings in the freezer. Properly prepared cappings can be stored for months without deterioration.

Step 4: Melting and Filtering the Wax
This is where the transformation happens. Several methods work well depending on your equipment and batch size. For a detailed look at the filtering side of this process, including our own experience with commercial wax melting equipment, see our guide to filtering beeswax.
Method 1: Water bath technique
- Place cleaned wax in a cheesecloth bag or porous container
- Place the bag in a large pot filled with clean water
- Heat the water slowly to around 155°F (68°C) — enough to melt beeswax without damaging it
- As the wax melts, it rises to the water's surface while heavier impurities remain trapped in the cheesecloth
- Once all wax has melted, remove from heat and allow to cool completely
- The wax will solidify as a disc on the water's surface, with remaining impurities settling at the bottom of the disc
- Remove the disc and scrape off the dirty bottom layer
For a second pass, break the disc into pieces and melt in a double boiler over indirect heat. Filter the melted wax through a paper towel, fine cheesecloth, or a specialized wax filter while still liquid. This second filtering produces noticeably cleaner results. Most wax benefits from at least two melt-and-filter cycles before molding.
Method 2: Solar wax melter
- Place a perforated tray inside a glass-covered container angled toward the sun
- Put clean cappings on the perforated tray with a collection container holding a small amount of water below
- The sun's heat gently melts the wax, which drips through the perforations while impurities remain on the tray
- The process typically takes several days depending on sunlight intensity
Solar melters produce exceptionally clean wax with no energy input. The gentle, consistent heat preserves the wax's natural color and aroma and is a good option for beekeepers with the time and climate to support it.
Method 3: Crockpot method
- Place cleaned cappings in a crockpot and add enough water to cover
- Set to low (around 155°F/68°C) and allow the wax to melt completely, usually several hours
- Turn off the heat and let the mixture cool overnight
- Remove the solidified wax disc and scrape off the dirty bottom layer
- Melt once more and pour through a paper coffee filter or fine cheesecloth for a final pass
The crockpot offers good temperature control for smaller batches and is a practical option for home beekeepers who don't want to invest in dedicated equipment right away.

Properly processed beeswax is the foundation of products like our Nectar + Honey Soy Candle
Step 5: Molding and Storing Processed Wax
With your beeswax clean and filtered, the final step is molding it into convenient forms for storage or use:
- While still liquid, pour the wax into your chosen molds
- Flexible silicone molds are ideal — they make removal easy without additional steps
- Allow the wax to cool and solidify completely, usually overnight
- For metal molds like muffin tins, a brief stint in the freezer causes the wax to contract slightly, making removal easier
- Once solidified, wrap wax blocks in unbleached paper or muslin cloth
- Store in a cool, dry place away from direct sunlight and strong odors
Properly processed and stored beeswax maintains its quality for years. When you're ready to use it, melt only the amount your project requires.

Kara Brown keeps bees on her Chesterhaven Beach Farm
Safety Precautions for Processing Beeswax
- Never leave melting wax unattended — beeswax is flammable
- Always use indirect heating methods like double boilers or water baths
- Keep a fire extinguisher rated for grease fires nearby
- Work in a well-ventilated area to avoid breathing wax vapors
- Use heat-resistant containers and utensils throughout
- Keep melting temperatures below 175°F (80°C) to prevent discoloration and maintain quality — never exceed 185°F
- Never pour wax down drains — it will solidify and cause blockages
Tips for Beginners
- Start with small batches: Smaller quantities are more manageable and let you focus on technique without the pressure of handling large amounts.
- Use a thermometer: Temperature control matters more than it seems, particularly for preserving color and aroma. A simple candy thermometer works well.
- Prioritize drying: Rushing the drying step after cleaning is the most common mistake beginners make. Wet cappings going into the melt lead to soft, discolored wax.
- Plan for multiple passes: One melt-and-filter cycle is rarely enough for truly clean wax. Budget time for at least two passes before molding.
- Keep equipment dedicated: Wax is difficult to clean off pots, utensils, and strainers. Keep a separate set of equipment for beeswax processing and don't use it for cooking.
Troubleshooting Common Issues
Discolored wax: If your processed wax appears darker than expected, it likely contains remaining impurities or was overheated. Try re-melting with additional water and filtering through a finer material.
Brittle wax: Extremely brittle wax usually indicates overheating. Process future batches at lower temperatures, ideally below 175°F (80°C).
Soft wax: If your wax doesn't harden properly, it may contain residual honey or water. Re-melt using the water bath method to drive out the moisture.
Unpleasant odor: Off-odors are usually caused by fermentation or mold in cappings that weren't dried thoroughly before storage. Discard severely affected batches and ensure complete drying in future processing runs.

Altering Beeswax Properties
Natural beeswax has a beautiful golden color and honey-like scent that most crafters prize. Some projects, however, call for modified properties.
Lightening color: To lighten beeswax, melt it with a small amount of activated charcoal or carbon powder, then filter thoroughly. The carbon absorbs pigments, resulting in lighter wax. Start with a small amount and increase as needed — it's easier to add than to remove.
Reducing scent: Activated charcoal can also reduce the natural scent of beeswax, though complete removal is difficult since the aroma compounds are integral to the wax's chemical structure. Multiple passes with fresh carbon get closer.
Adjusting hardness: Beeswax can be blended with other waxes like soy or coconut to modify hardness for specific applications. Experiment with small test batches before committing to a full pour.

Did you know you can naturally decorate Easter eggs with beeswax?
It's a Sticky Mess, But It's Rewarding
Processing beeswax transforms a sticky byproduct of honey harvesting into a versatile, durable material. The care invested in each step — collecting, separating, cleaning, melting, filtering, and molding — pays directly into the quality of the finished wax and everything made from it. This complete use of hive products honors the work of the bees while giving you something genuinely useful to work with.
Once you have clean, processed wax in hand, the possibilities are wide. For ideas on what to do with it — from home uses and cosmetics to candles and creative projects — see our full guide to beeswax uses. And if you want to go deeper on the filtering side specifically, our post on filtering beeswax covers the process in detail, including what we learned the hard way with commercial equipment.

Caring for this land and these communities is at the core of who we are. It's why we created Roots & Wings — our giving initiative that connects every purchase to something that matters. See how we give back.
Updated 4/10/2026