Want a healthy dessert? High protein cheesecake baked with honey is your answer. This recipe keeps the classic taste while boosting protein. Perfect for fitness goals or guilt-free indulgence. And guess what? It's also gluten free, too!
Ingredients for High Protein, Gluten-Free Cheesecake
This delectable high protein cheesecake requires a handful of simple, essential ingredients:
- Cottage cheese and eggs, which form the base of your cheesecake filling
- Honey, which adds a natural boost of sweetness and flavor
- Vanilla extract, which enhances the overall taste
Six tablespoons of corn starch help achieve the perfect consistency. A pinch or two of salt helps round out the basic cheesecake mixture.
For those with dietary preferences, this protein cheesecake recipe is quite versatile. You can opt for fat free cottage cheese or low fat cottage cheese to reduce the calorie content. Vegan, gluten-free, and low carb protein cheesecake options are also possible through various substitutions. Feel free to get creative with your favorite toppings; fresh strawberries are a classic choice.

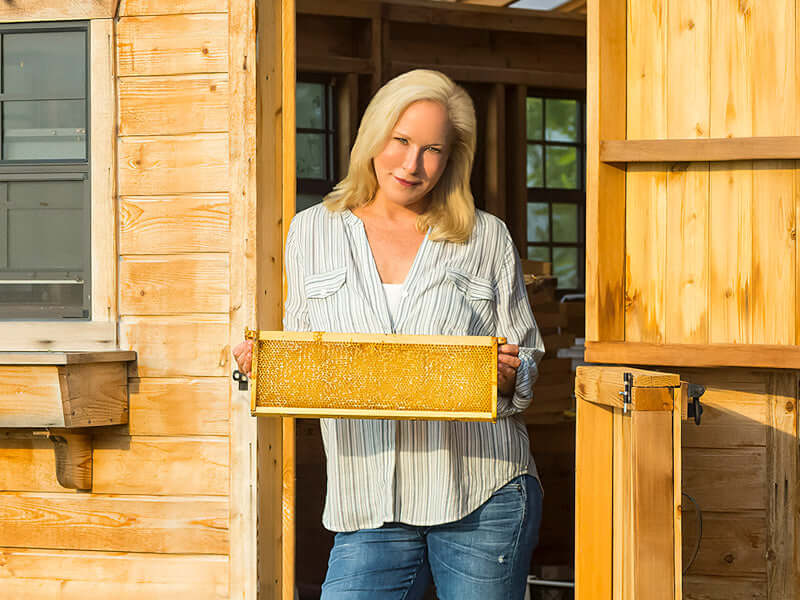
Alfalfa Honey tasted delicious in this recipe! Try it with other types of honey to change up the flavor profile.
Preparing the Cheesecake Mixture
With all your ingredients ready, you can start preparing the cheesecake mixture. Start by blending all the ingredients together in a blender or food processor. This ensures that the mixture is smooth and creamy, free of any lumps. Ensure your ingredients, especially cottage cheese, are at room temperature for perfect consistency.
Precision is essential in baking this protein cheesecake. A digital food scale helps get the measurements just right. In your blender or food processor, combine 2 1/2 cups of cottage cheese, 2/3 cups of raw honey, 6 tablespoons of corn starch, 2 teaspoons of vanilla extract, a pinch of salt, and 4 eggs. Blend until fully combined.
Monitor the texture as you blend. The batter should be smooth and creamy, without visible lumps. Avoid overbeating to prevent a dense texture; aim for the right consistency. With the filling ready, move on to baking your high protein cheesecake.

Baking the Hight Protein Cheesecake
Preheat your oven to 350°F to start baking your high protein cheesecake. This ensures the best baking results. Line your springform pan, we used an eight inch springform pan, with parchment paper to prevent sticking while the oven heats up. Pour and spread the cheesecake mixture evenly into the lined pan. Cover the pan with foil for even baking.
Bake the cheesecake for approximately 50 to 60 minutes. Remove the foil after the first 20 minutes to allow the top to brown slightly. The cheesecake is ready when the edges are browned and the center is firm yet slightly jiggly. Prevent cracks by using a water bath; place a baking pan filled with hot water on the bottom rack.
After baking, let the cheesecake cool gradually in the oven with the door slightly ajar for about 20 minutes. This slow cooling process helps prevent surface cracks. Then, let the cheesecake reach room temperature before refrigerating for at least four hours to firm up completely.
Avoid opening the oven door during baking to maintain a consistent temperature.
Flavor Variations
This protein cheesecake recipe is highly versatile. Easily customize it to suit different tastes. Enhance the base flavor by adding 2 teaspoons of vanilla extract. Lemon zest and juice can add a refreshing citrus twist. Try this easy protein cheesecake for a delicious twist on a classic dessert with these protein cheesecake recipes.
Consider using different yogurt flavors for a fruity variation. Blueberry, cherry, or strawberry yogurt can transform it into a berry delight. For chocolate lovers, use chocolate protein powder and garnish with mini chocolate chips or dark chocolate ribbons for a dark chocolate version. Peanut butter Greek yogurt paired with banana protein powder offers another delicious option.
For a tropical twist, try key lime Greek yogurt combined with vanilla protein powder. For a unique fall flavor, mix salted caramel Greek yogurt with pumpkin protein powder. The possibilities are endless for customizing your cheesecake. Mix and match toppings and flavors to create a cheesecake that’s truly your own.

Serving Suggestions
With your cheesecake ready, consider how to serve it. Fresh fruit toppings like strawberries, blueberries, or raspberries add a burst of color and flavor. A fruit compote enhances taste and provides a beautiful presentation. For a sweet touch, sprinkle crushed cookies like Oreos or Thin Mints over the top for added texture.
Drizzle melted chocolate or honey caramel sauce in a decorative pattern for a decadent touch. Garnish with fresh mint sprigs for a pop of color and refreshing taste. Whipped cream-stuffed strawberries provide an elegant and delicious topping. A Greek yogurt topping is a great option to increase protein content. Opt for plain nonfat greek yogurt for the healthiest option.
Chill your cheesecake in the fridge for a few hours before serving to achieve the best texture. This allows the flavors to meld and makes slicing easier. These serving suggestions will make your high protein cheesecake even more delightful, whether for a dinner party or personal treat.
Storage and Shelf Life
Store your cheesecake in the refrigerator to maintain its flavor and safety. Let the cheesecake cool for one hour after baking before refrigerating. Wrap tightly with plastic wrap and foil to prevent drying out. Chilling the assembled cheesecake enhances its flavors and properly sets the texture.
Consume your cheesecake within five to seven days after baking for optimal quality. Store leftovers in the refrigerator. They remain good for up to one week. For longer storage, freeze the cheesecake for up to a month. Ensure it’s properly wrapped to avoid air exposure.
Thaw a frozen cheesecake overnight in the refrigerator for best results. Gradual thawing ensures the texture remains smooth and creamy. Proper storage keeps your high protein cheesecake delicious and safe to eat.

Tips for Success
Follow these tips for the best results with your protein cheesecake. Use a blender, food processor, or immersion blender to start. This ensures the filling is smooth and creamy. Avoid overbeating to prevent a dense texture; aim for a smooth consistency without overmixing.
Room temperature ingredients are crucial for a creamy, lump-free mixture. This ensures the ingredients blend smoothly, resulting in a better texture. Review the recipe carefully and follow the steps precisely to avoid common baking issues.
With these tips, you’re well-equipped to create a high protein cheesecake that’s delicious and visually appealing. Happy baking!
Protein Cheesecakes are the Way to Go!
Creating a high protein cheesecake is a delightful way to enjoy a healthy, macro-friendly dessert without sacrificing flavor. From gathering the ingredients and preparing the cheesecake mixture to baking and exploring various flavor variations, each step brings you closer to a delicious and nutritious treat.
Remember, the key to success lies in precision, creativity, and proper storage. Whether you serve it with fresh fruit or a drizzle of melted chocolate, this cheesecake is sure to impress. So go ahead, try this protein cheesecake recipe, and indulge in a dessert that’s both satisfying and health-conscious.

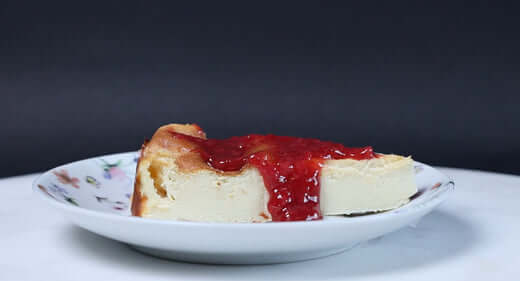
We topped our cheesecake with our homemade Honey Strawberry Jam!
Frequently Asked Questions
Can I use fat free cottage cheese instead of regular cottage cheese?
Absolutely, fat free cottage cheese works well as a substitute for regular cottage cheese, letting you cut down on calories while still enjoying great taste. Go for it!
How long should I refrigerate the cheesecake before serving?
Refrigerate the cheesecake for at least four hours to help it set perfectly before serving. Trust me, it’ll make a big difference!
Can I freeze the cheesecake?
Absolutely, you can freeze cheesecake for up to a month, just make sure it's tightly wrapped to keep the air out!
What are some popular flavor variations?
Some popular flavor variations are dark chocolate, peanut butter, key lime, and berry. They really add a fun twist to your usual choices!
How do I prevent the cheesecake from cracking?
To prevent your cheesecake from cracking, use a water bath while baking and let it cool gradually in the oven with the door slightly open. This keeps the temperature stable and helps create a smooth finish!


